James Prigioni’s Detailed Guide to Crafting the Ultimate Raised Bed Cover
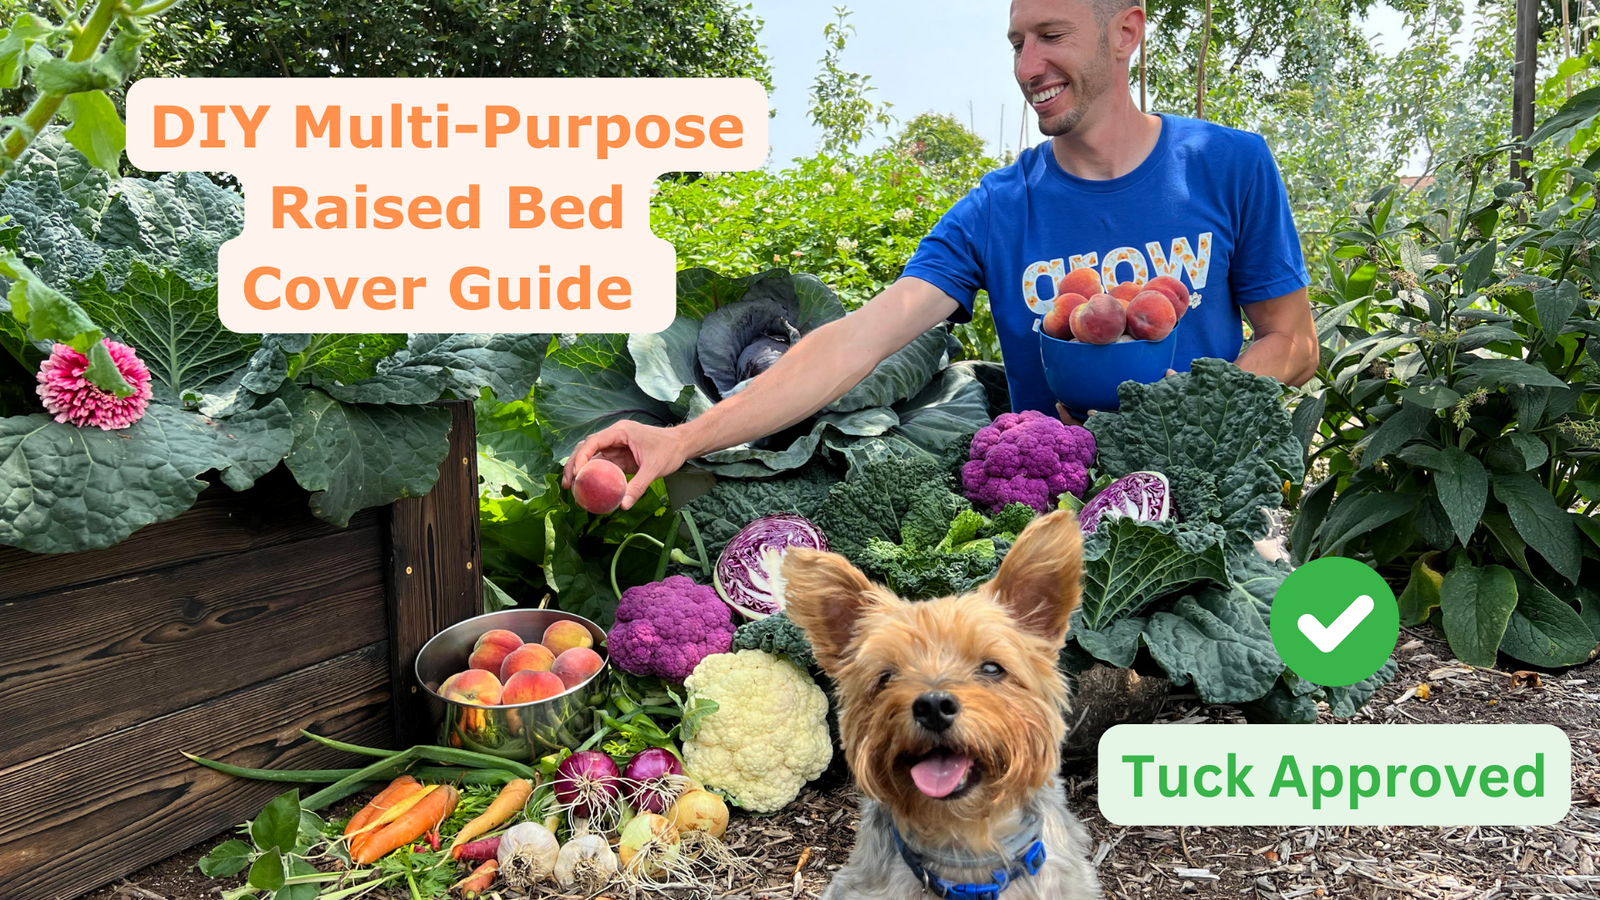


Hey Growers! James Prigioni here, ready to share a fun-filled journey of building my favorite raised bed cover with you. This isn't just any cover; it's a fortress for your green babies, protecting them from everything - bugs, frost, and even summers, sun-scorching rays. I will break this guide down into phases and steps accompanied by imagery. Now, let's roll up our sleeves, crunch some numbers, and create something awesome!
Phase 1: Measuring Your Beds
Grab your measuring tape, and let's get scientific! Measure the length and width of your raised bed. Let's say it's 6 feet long and 4 feet wide. These dimensions will guide buying the right amount of lumber and PVC.

Phase 2: Material Math
Lumber: You'll need enough to go around your bed. For our example, that's two 6-foot pieces and two 4-foot pieces.
PVC Pipes: Here’s where it gets cool. To find the length of PVC needed for each hoop, use this formula:
Length of PVC per hoop = Half the width of the bed (radius) multiplied by 3.14 (pi). So, if you have a bed four feet wide, that's a 2ft radius x 3.14 = 6.28ft (multiple by 12 for inches) per PVC pipe hoop.
To determine how many PVC pipe hoops you will need for your bed, use this rule of thumb: you will always have one hoop on each end and atleast one in the middle. If you have an extra long bed (10ft+) then consider arches every 3-4 feet apart. For most beds you’ll have three arches. One on either side and one in the middle.
Calculate your caps and T-joints needed:
Total PVC Caps: 2 per PVC pipe hoop
Total PVC Caps: 2 per PVC pipe hoop
Total T-Joints: 3 per end PVC hoop (each end has 3x2 end hoops = 6 T joints per bed)
Phase 3: Building the Frame
You're creating the skeleton of your plant haven. Cut your lumber, and make a rectangular frame that fits just outside the raised bed. Pre-drill holes (to prevent wood splitting) and use deck screws for a firm hold. This frame is the sturdy base of our garden bed cover.


Phase 4: Arching to Perfection
It's time to create the cathedral arches. Attach PVC caps along the frame. Then, bend the PVC pipes into arches, anchoring them into the caps. Secure with T-joints for that extra sturdiness. Finally connect the PVC to the T-joints and tape for strength. Imagine you’re crafting a mini greenhouse - because you kind of are!


Step 5: Cover Me Up
Choosing Your Armor: Insect netting is your bug shield, shade cloth is your cool canopy, and greenhouse plastic is your frost fighter. Pick your guardian based on your garden’s needs.
Cut and Attach: Cut the material to size, ensuring it covers the frame and the arches completely. Staple it with conviction and passion! This is your garden's first line of defense.
Cut and Attach: Cut the material to size, ensuring it covers the frame and the arches completely. Staple it with conviction and passion! This is your garden's first line of defense.
Step 6: Hinges and Helpers
Optional but handy: Hinges. Why? They make your cover a convertible – easy to lift for daily plant tending. Install them on one side of the frame for that smooth swing.


Step 7: The Final Run-Through
Do a walk-around. Check every screw, every staple. Is the cover snug? Are the arches holding strong? This is your masterpiece; it deserves your keen eye.
Why This Matters
This cover isn’t just a structure; it’s a learning experience and a testament to your love for gardening. You’re creating a microclimate, a tiny ecosystem that can change the game for your plants. It’s protection, it’s extending your growing season, it’s giving your plants a chance to thrive in adversity.
Wrapping Up
There you have it, my fellow green-thumbed friends, a raised bed cover that’s more than just wood and plastic. It’s a mini sanctuary for your plants. Remember, in gardening and life, the journey teaches us the most. So enjoy every cut, every measurement, every moment.
Need a Garden Cover but don’t have the tools to build it yourself? Check out the affordable and versatile Cover System here at Team Grow. Until next time, keep growing, learning, and loving your garden!
Keep Sowing,
James Prigioni & Tuck 🌿🛠️🍅