Build a Raised Bed in a Tote: Free Container Gardening at its Best
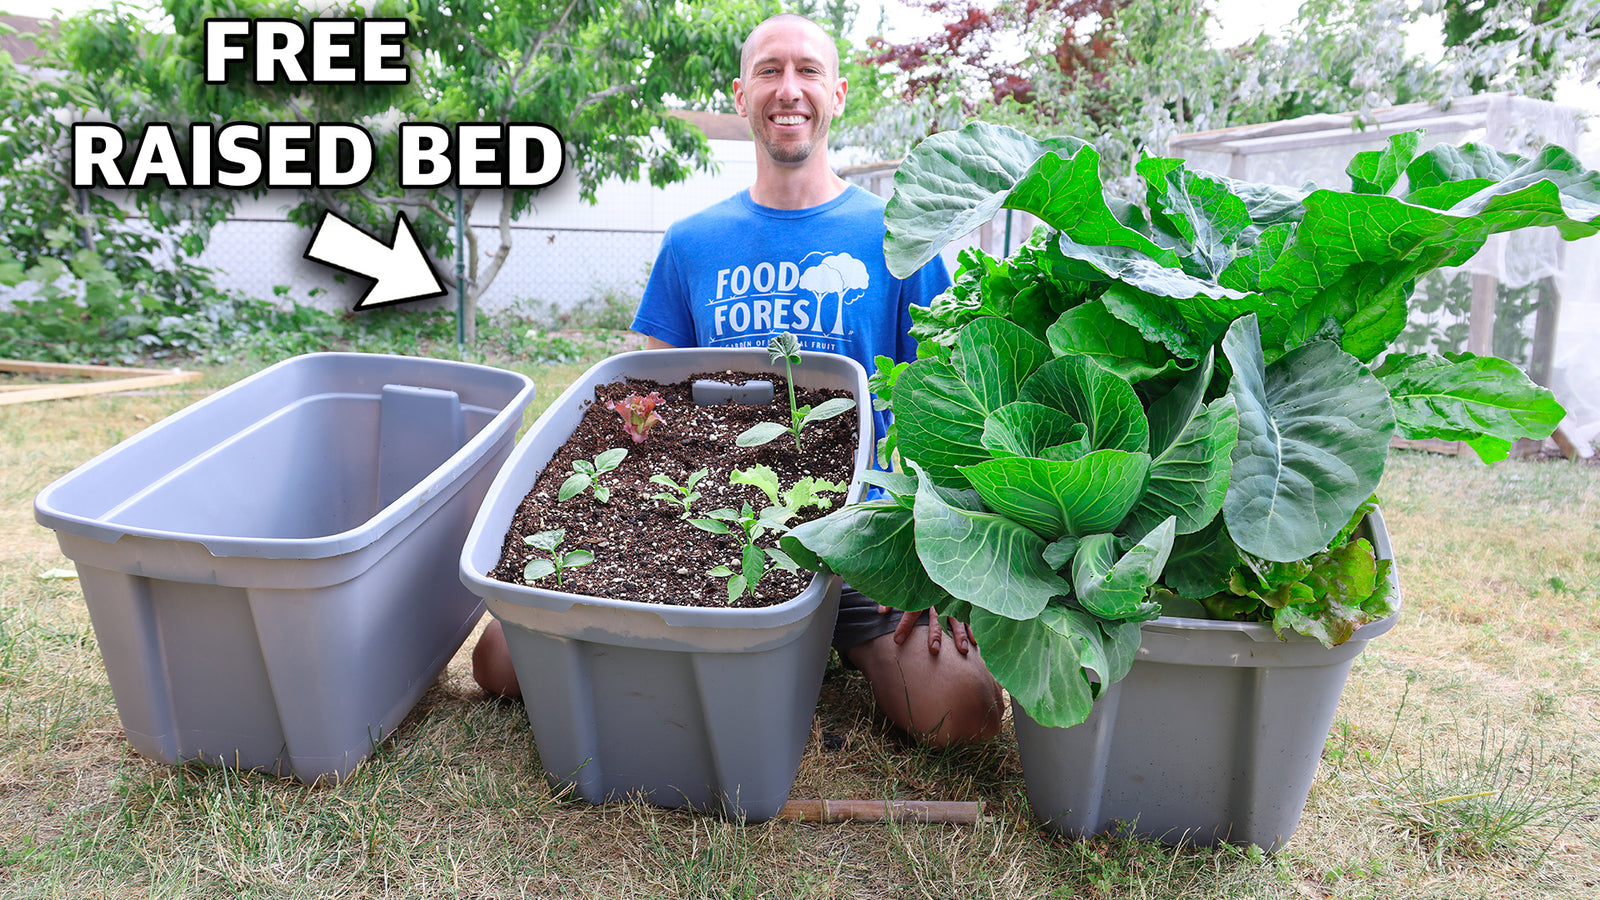

Creating Your Tote Garden
-
Drainage is Key: Start by drilling holes at the bottom of the tote for proper drainage. I did six hole for my container for even drainage throughout the tote.

-
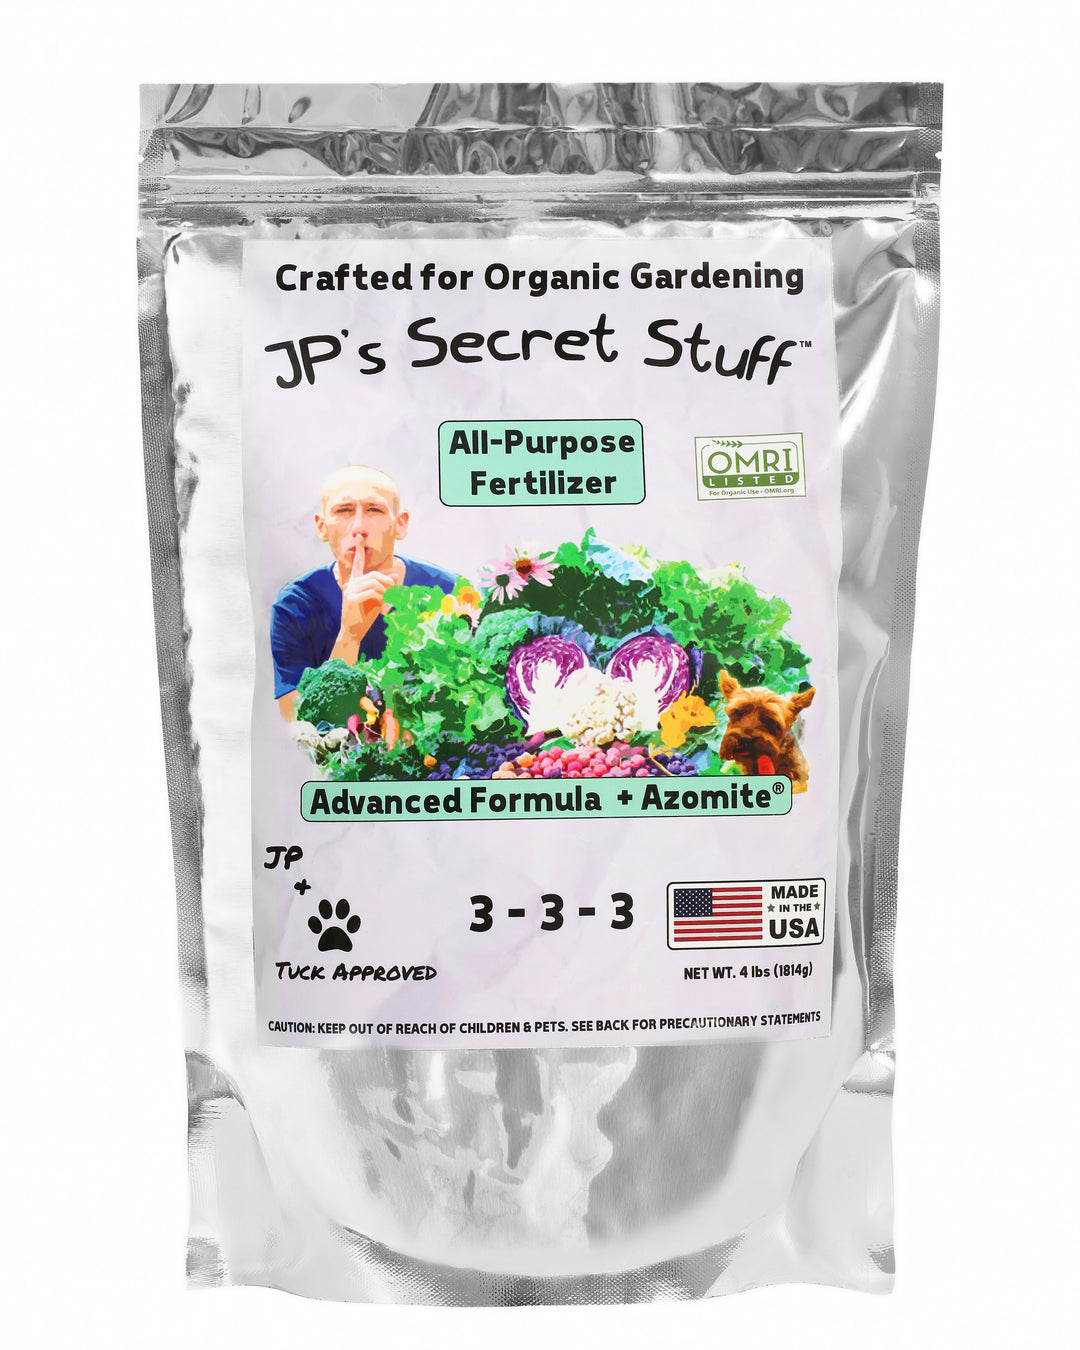
Soil Matters: Fill the tote with high-quality, homemade, or organic bagged soil. I like to add my all-purpose fertilizer, JP’s Secret Stuff, for that extra nutrient boost.


-
Planting Your Crops: For my spring garden tote, I planted a mix of early Jersey Wakefield cabbage, Puntoverde cauliflower, various lettuces, Swiss chard, radishes, and a beautiful chamomile centerpiece. For my summer tote bed I planted Lollo Di Vino Lettuce, Genovese Basil, Suyo Long Cucumber, Costata Romanesco Zucchini, Slow Bolt leaf lettuce, Sweet Pepper, and African Daisy. I always add some mycorrhizal inoculant like the Myco Bliss when planting to encourage healthy soil and root growth.

-
Regular Maintenance: Keep an eye on the moisture levels and thin out plants like radishes or carrots as needed, I love using the Felco Snips for thinning. I also noticed damage on my cabbage, so I opted to use BT an organic pest repellent for cabbage moths. Being proactive with your plants can ensure you enjoy the fruits of your labor!

Creating Your Own Garden Tote Soil
-
Soil Preparation: Mix 3 buckets of coco coir, 2 buckets of mushroom compost, 1/2 a bucket of vermiculite and 1/2 bucket of perlite for a rich, well-draining growing medium. I like to use 5 gallon buckets as a measuring container because of its size and ease of carrying. I also use a tarp to give myself an area to mix the soil together. I prefer to use coco coir to alternatives like peat moss, plus coco coir is far more sustainable of a resource and has a neutral PH, better for growing most veggies. I use local mushroom compost but, you can opt for whatever is available to you. I like to screen my compost, with my garden screener to ensure I do not have large size particles, in my mix like those from the store typically have. Vermiculite and perlite are going to ensure good soil structure for roots to breathe and drink up water.


-
Planting: Ensure you follow best space saving techniques. I recommend the square foot gardening method, one of my favorite books. I encourage you to interplant with many varieties to extend your harvest overtime and get more out of your tote garden. Another pro-tip is to replace your plants when you harvest, so always have some seedling ready to pop into your garden after you harvest to ensure you keep on growing all season long!