This New Method of Starting Seeds Will Change Your Life
Hey Growers! James here with Tuck, and today we're diving into one of the most exciting parts of gardening - starting seeds! Whether you're a seasoned gardener or just starting, this guide will revolutionize your thinking about seed starting. We're discussing easy, practical methods to give your plants the best start possible. So, let's roll up our sleeves, get our hands a bit dirty, and jump right into the world of seed starting. Let's go!
Remove Any Unwanted Material
You know, the soil you choose is like the foundation of a house. It needs to be solid, supportive, and just right. That's why I always reach for Happy Frog potting mix. It's my go-to choice, but let's be honest – it can sometimes be a bit pricey and hard to find. I love supplementing my seed starting mix with coconut and vermiculite to improve the mix while saving on cost…we’ll get into that a bit more later, but for now, let’s talk about removing the unwanted large particles from our chosen soil.
Here's the deal: any good organic potting mix will do the trick. We're looking for something that balances drainage and water retention, giving your seeds the perfect environment to sprout. You'll often find some bits and barks in these mixes, which, while fine for established plants, can be a hurdle for your little seeds. That's why I recommend sifting your soil.
You can craft your sifter with some 1/4 inch hardware cloth – a fun DIY project – or grab a quality Garden Sifter from my shop. Sifting out the bigger chunks makes the soil smoother and friendlier for those tiny seeds, especially the delicate ones like lettuce and arugula. It's like removing obstacles from their path, ensuring a smooth journey from seed to sprout.


Enhance Your Seed Starting Mix
Let's talk about preparing the perfect seed starting mix. Getting this right is like setting the stage for a grand performance – where your seeds are the stars!
First, give that potting mix a sift. Now, the texture of your soil is critical. It's not just about being fine and dandy; it's about creating the right environment for your seeds to wake up and grow. We're looking for a mix that holds moisture well but has enough air pockets. Seeds love a cozy, moist place to start, but they must also breathe like us!
For extra fluff, one thing to add to your mix is coco-coir, an inert, sustainable material with a neutral pH. I use coco in my raised beds, containers, and seed mixes. It holds water, provides structure, and helps save costs compared to pre-made soil blends.
Coco is not the only thing I would recommend…Here's where vermiculite comes in. Mixing fine vermiculite lightens the soil, enhancing moisture retention and aeration. Vermiculite is especially great for tiny seeds – it's like giving them a soft bed to rise from. Trust me, your seeds will appreciate the extra effort.
Let's talk about moisture before we get this mix into our cells. You want your soil to be evenly moist but not soggy. Think of a damp sponge. You're going too far if your mix feels like a waterlogged swamp. We want moisture, not a seed swimming pool!
Once your mix feels like that perfect damp sponge, it's time to get it into your seed trays. Remember, the Seed Starting Bundle is an excellent choice. It's all about giving your seeds the best home to start their journey. With the right mix, your seeds will pop up quickly, ready to bask in the sun and grow into healthy, vigorous plants.


Planting Your Seeds
The size of your seed often dictates how deep to plant. For instance, larger seeds go deeper into the soil, while smaller ones like lettuce or arugula barely need covering. It's all about giving them the right start.
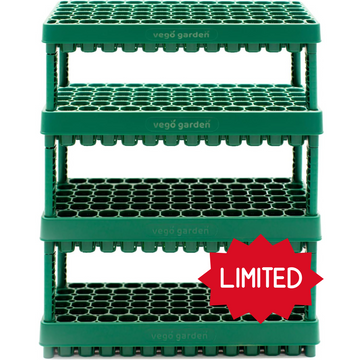
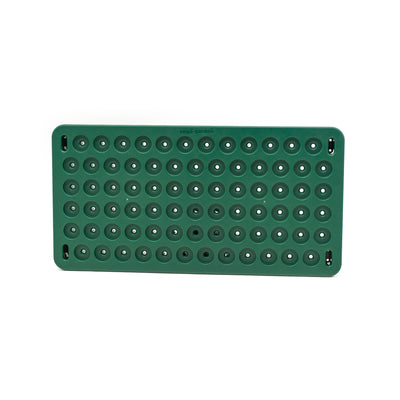
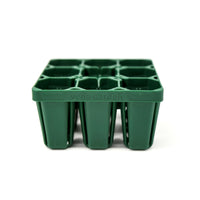
Now, onto the fun part – planting. When planting many seedlings, I opt for a 76-cell tray and my new secret tool… the 3-in-1 Plant and Pop Board isn't just any old tool; it's a game-changer for amateur and professional gardeners who grow in the 76-cell Stackable Seed Trays.
Here's my method: Fill my seed tray with soil, then use the first function of the 3-in-1 tool, dribbling the soil to create a small, consistent-sized divot. I like to sprinkle the seeds evenly across the soil surface, which is where the second function of the tool comes in. I drop each seed into the top of the funnel, which lands right in the middle of the divot I made. Then, gently cover the seed to its proper depth. The third function of the 3-in-1 tool comes later; we will cover that in a bit…Finish up your planting with a light dusting of soil on top enough. But remember, seeds need water, air, and the right temperature to sprout. Some, like lettuce, even need a bit of light.
If you're using an inert medium like coco coir or vermiculite, remember to transplant your seedlings to nutrient-rich soil once they have their true leaves. And if you want to make life easier, check out the seed popper and 76-cell seed starting trays on TeamGrow.us – they're my go-to for hassle-free planting and transplanting many plants at once.


Good Germination
Firstly, the environment is vital. Your seeds need the right balance of water, air, and warmth to awaken. Most seeds prefer a cozy temperature range to sprout. For example, peppers love it warm, around 75 to 85°F, and will germinate in about 7 to 10 days in these conditions. But remember, it's too cold, like below 55°F, and they might not wake up.
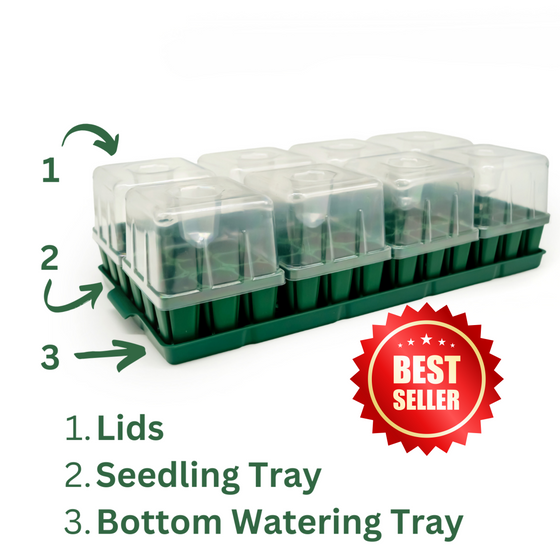
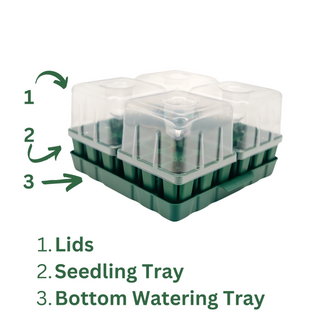
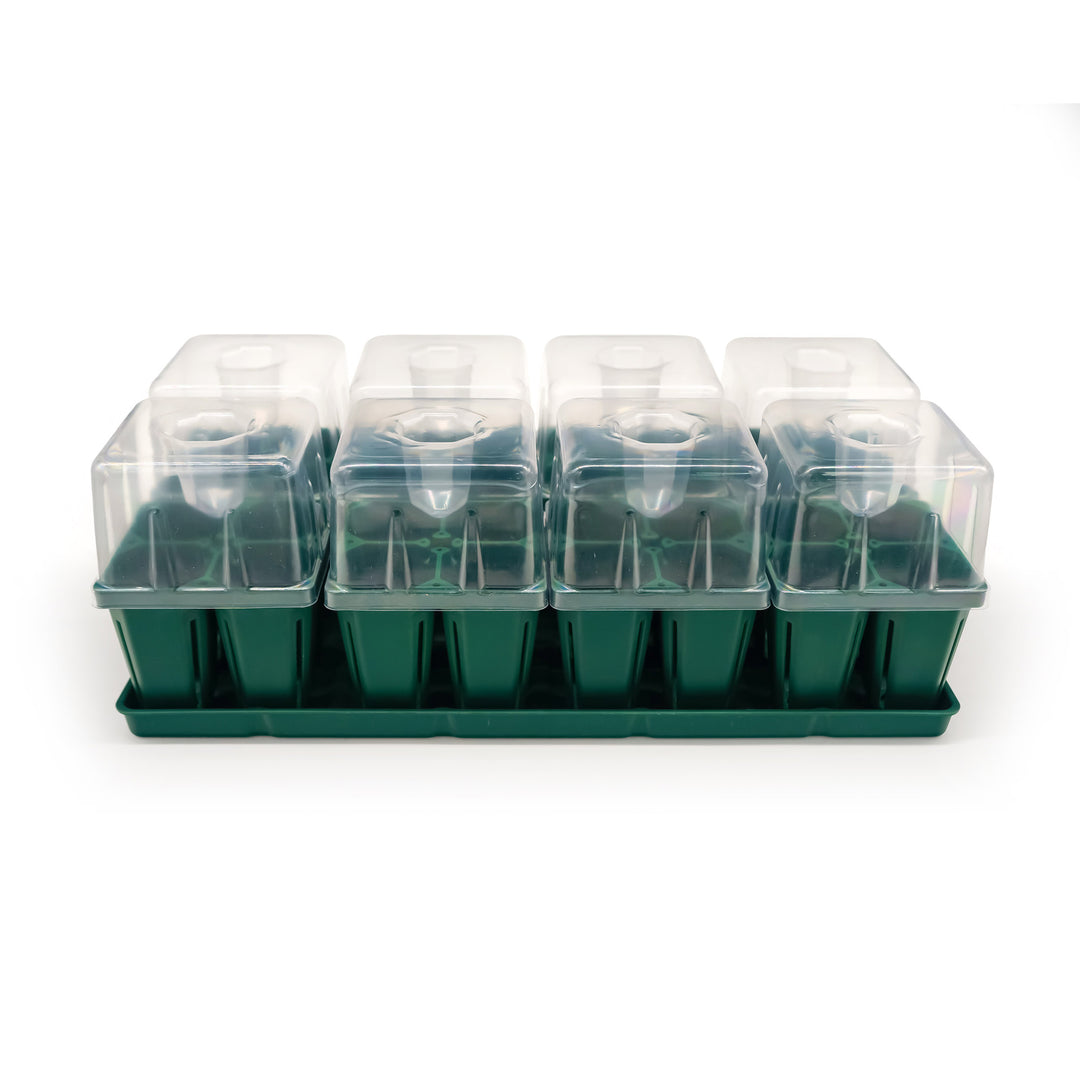
Ensuring ideal temperatures is where a heat mat and your seed starting bundle come into play. The bottom heat, watering tray, and humidity lid are not just about convenience; they create the ideal conditions for germination. Maintaining consistent moisture and temperature gives your seeds the best chance to sprout healthily.
Now, for some seeds, light is a must-have for germination. Lettuce, for instance, needs a bit of light to get going. So, if you're using an inert medium like coco coir, peat moss, or vermiculite, which are great for holding moisture and providing air space, remember to expose those seeds to light. And once those first true leaves appear, it's time to move them into a more nutritious environment, like our potting mix.
When it comes to watering, the key is to keep the soil evenly moist but not waterlogged. Seeds need oxygen as much as water, and a swampy environment is a no-go. Ensure a humid, air-rich, warm environment plus a little light for those special seeds, and you will be guaranteed a high level of germination.


Seedling Care
Now that you've successfully planted your seeds, it's time to focus on the young seedlings. This stage is all about providing the proper care and environment for them to grow strong and healthy.
Your seedlings need a nurturing environment, and the Seed Starting Bundle gives them just that. With its high-quality, durable trays, you won't need to replace these trays.
Let's talk about watering. The bottom watering tray of the bundle is a real game-changer. It fits perfectly with the seed trays, keeping everything secure and reducing sliding risks. This system allows for gentle, even watering, ensuring your seedlings get the moisture they need without being overwhelmed.
But it's not just about water; your seedlings also need air. The seed starting trays are designed with airstrips, promoting healthy root growth by allowing roots to breathe. This results in more robust, healthier plants right from the start.
A pro-tip for indoor seed starting is to add a fan into the room to promote airflow and to stimulate plants to grow thicker, sturdier stems to resist the force of the wind. This training will boost your success as you move into the natural environment.


Hardening Off
First, let's talk about why hardening off is so important. Your seedlings, nurtured in the controlled growing environment, are used to certain conditions - stable temperatures, consistent moisture levels, and protection from elements like wind and direct sunlight. The outdoor environment is a whole new world for them, with fluctuating temperatures, varying light levels, and natural elements they've never faced before.
So, how do you harden off your plants? It's a gradual process. Start by taking your seedlings outside for a few hours each day, choosing a spot that's sheltered from strong winds and direct sunlight. Gradually increase their time outdoors over a week or two, exposing them to more sunlight and varying conditions daily. This slow introduction helps them build resilience and adapt to their new environment.
Be mindful of the weather during this period. If there's a sudden cold snap or extreme weather conditions, it's best to bring your seedlings back indoors or provide some protection. After a week or two of hardening off, your seedlings will be ready to transplant into your raised garden beds or outdoor garden planters.

Transplanting Your Seedlings
The last step we tackle is crucial in your gardening journey - transplanting those precious seedlings into their final growing spots. It's a big moment, so let's ensure we do it right. The worst thing that can happen is to harm your seedling during this delicate process… that's why we are so excited about the methods we will share next!
With your seedlings in your Seed Starting Bundle or Stackable Seed Trays, they are ready to easily pop out quickly and safely with the root-friendly design of the trays and the clever 3-in-1 Plant and Pop Tool with your Stackable Trays, which will make moving your 76+ seedlings a breeze. Let's dive into how you can make the most of it.
- Timing is Key: Wait until your seedlings have developed their true leaves, have visible root formation, and are sturdy enough to handle—usually a few weeks after sprouting. Remember, patience pays off in gardening!
- Gently Does It: The innovative design of the Garden trays makes popping out seedlings for transplanting easier than ever, minimizing root disturbance. Gently press from the bottom to ease the seedling out. Handle your plants by the leaves, not the delicate stems, to avoid damage.
- Prepare Their New Home: Whether into a larger pot or directly into your garden, ensure the new spot has nutrient-rich soil and is ready to welcome the young plants. Remember, their growing environment is just as important as how they start.
- Acclimatization: If you're moving them outdoors, ensure they've been gradually exposed to outdoor conditions and are ready to face the elements.
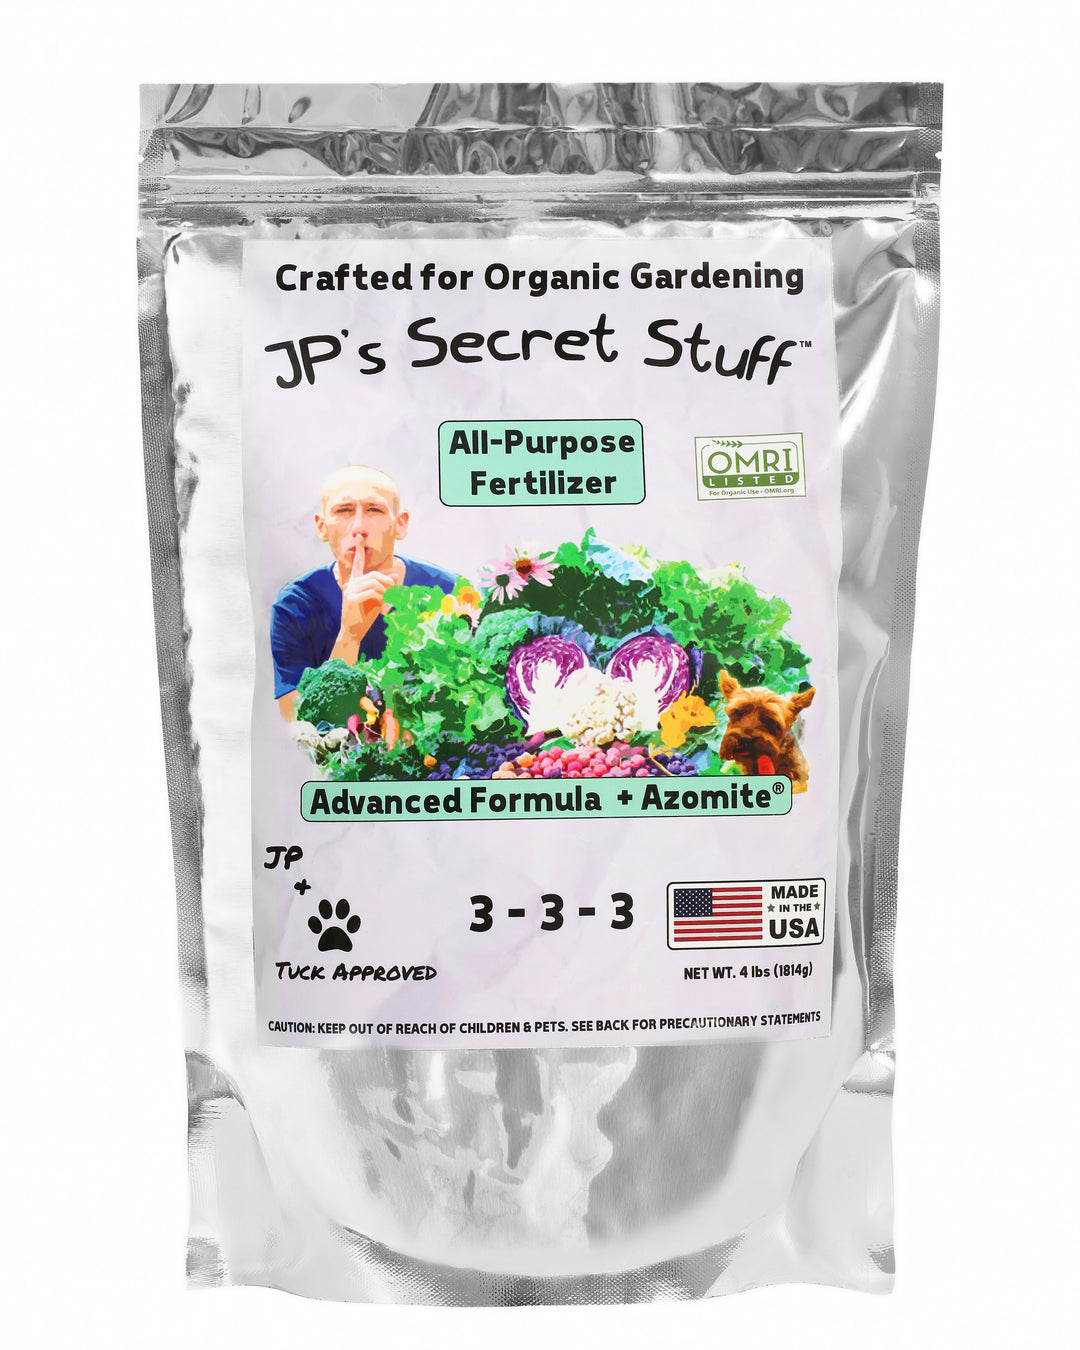
- Watering Post-Transplant: Once transplanted, give them a good watering to help settle the soil around the roots and reduce transplant shock. We also love to add some JP’s Secret Stuff fertilizer and Myco Bliss to provide nutrition and boost the microbiology of the root zone.
- Monitor and Nurture: After transplanting, closely monitor your seedlings. They'll need a bit of extra love and care as they adjust to their new environment.

![]()
And that's it, Growers! Transplanting doesn't have to be daunting. Your seedlings will thrive in their new homes with the right tools and some know-how. Visit TeamGrow.us for all your gardening needs, and remember, every step you take is a step towards a more bountiful garden.
Happy Seed Starting, everyone! - James and Tuck🌱🐾